Are you considering using self-leveling concrete for your next flooring project? This innovative material can transform uneven surfaces into smooth, level floors with minimal effort. However, proper preparation and application techniques are crucial for achieving optimal results. In this comprehensive guide, you’ll discover expert tips for preparing and pouring self-leveling concrete like a pro.
From surface preparation to mixing ratios and application methods, we’ll walk you through each step of the process. Whether you’re a DIY enthusiast or a professional contractor, these insights will help you achieve flawless, durable floors that stand the test of time. Let’s dive into the world of self-leveling concrete and unlock its full potential for your projects.
What is Self Leveling Concrete?
Self leveling concrete is a specialized type of concrete mixture designed to flow easily and settle into a smooth, level surface with minimal effort. This innovative product has gained popularity in construction and renovation projects due to its unique properties and versatile applications.
Applications and Uses
You can use self leveling concrete for various purposes, including:
- Leveling uneven floors
- Creating smooth underlayments for flooring installations
- Repairing damaged concrete surfaces
- Achieving precise slopes for proper drainage
Its ability to flow into tight spaces and conform to irregular shapes makes it ideal for both new construction and renovation projects.
Benefits and Advantages
Opting for self leveling concrete offers several benefits:
- Time-saving: The self-leveling nature of the product reduces labor and installation time.
- Precision: It provides a highly accurate, level surface with minimal imperfections.
- Versatility: Can be used on various substrates, including wood and existing concrete.
- Durability: When properly installed, it creates a strong, long-lasting surface.
Understanding the properties and applications of self leveling concrete can help you determine if it’s the right solution for your project. Its unique characteristics make it a valuable tool in achieving smooth, level surfaces with efficiency and precision.
Benefits of Using Self Leveling Concrete
Self-leveling concrete offers numerous advantages over traditional concrete, making it an increasingly popular choice for various construction and renovation projects. Here are the key benefits you can expect when opting for self-leveling concrete:
Superior Smoothness and Flatness
Self-leveling concrete provides an exceptionally smooth and flat surface, surpassing the results achievable with traditional concrete. This characteristic makes it ideal for applications where a perfectly level floor is crucial, such as in retail spaces, warehouses, or residential areas. The self-leveling properties ensure that the mixture flows into every nook and cranny, eliminating imperfections and creating a uniform surface.
Time and Labor Efficiency
One of the most significant advantages of self-leveling concrete is its time-saving nature. The mixture spreads and levels itself, reducing the need for manual labor and specialized skills. This efficiency translates to faster project completion times and potentially lower labor costs. You can cover large areas quickly, making it an excellent choice for time-sensitive projects or renovations where minimizing downtime is essential.
Versatility and Durability
Self-leveling concrete is incredibly versatile, suitable for both new construction and renovation projects. It adheres well to various substrates, including existing concrete, wood, and tile. This adaptability makes it an excellent choice for updating old floors or creating new surfaces. Additionally, when properly installed and maintained, self-leveling concrete offers excellent durability, resisting wear and tear even in high-traffic areas.
Improved Aesthetics and Customization Options
The smooth finish of self-leveling concrete provides an attractive base for various flooring options. You can leave it exposed for a modern, industrial look or use it as a subfloor for tiles, carpet, or other floor coverings. Moreover, self-leveling concrete can be easily tinted or stained, offering a wide range of customization options to match your desired aesthetic.
Preparing the Surface for Self Leveling Concrete
Proper surface preparation is crucial for the success of your self-leveling concrete project. Follow these steps to ensure optimal adhesion and performance:
Cleaning the Substrate
Begin by thoroughly cleaning the existing surface. Remove all dirt, dust, grease, and loose debris using a heavy-duty vacuum cleaner. For stubborn stains or contaminants, use a degreaser or concrete cleaner. Rinse the surface thoroughly and allow it to dry completely before proceeding.
Repairing Cracks and Imperfections
Inspect the surface for cracks, holes, or other imperfections. Fill any cracks wider than 1/8 inch with an epoxy crack filler or patching compound. For smaller cracks, use a concrete crack sealant. Allow all repairs to cure fully according to the manufacturer’s instructions.
Priming the Surface
Applying a primer is essential for proper bonding between the existing surface and the self-leveling concrete. Choose a primer specifically designed for use with self-leveling compounds. Use a roller or brush to apply an even coat of primer, ensuring complete coverage. Allow the primer to dry until it becomes tacky to the touch.
Creating Barriers
If you’re not covering the entire floor, install foam tape or weather stripping around the perimeter of the area to be leveled. This will prevent the self-leveling concrete from flowing into unwanted areas.
Final Preparation
Before mixing the self-leveling concrete, ensure the room temperature is between 50°F and 90°F (10°C to 32°C). Close all windows and doors to prevent drafts, which can affect the curing process. Have all your tools and materials ready, including a gauge rake, spike roller, and mixing equipment.
By meticulously preparing the surface, you’ll create an ideal foundation for your self-leveling concrete, ensuring a smooth, durable, and long-lasting result.
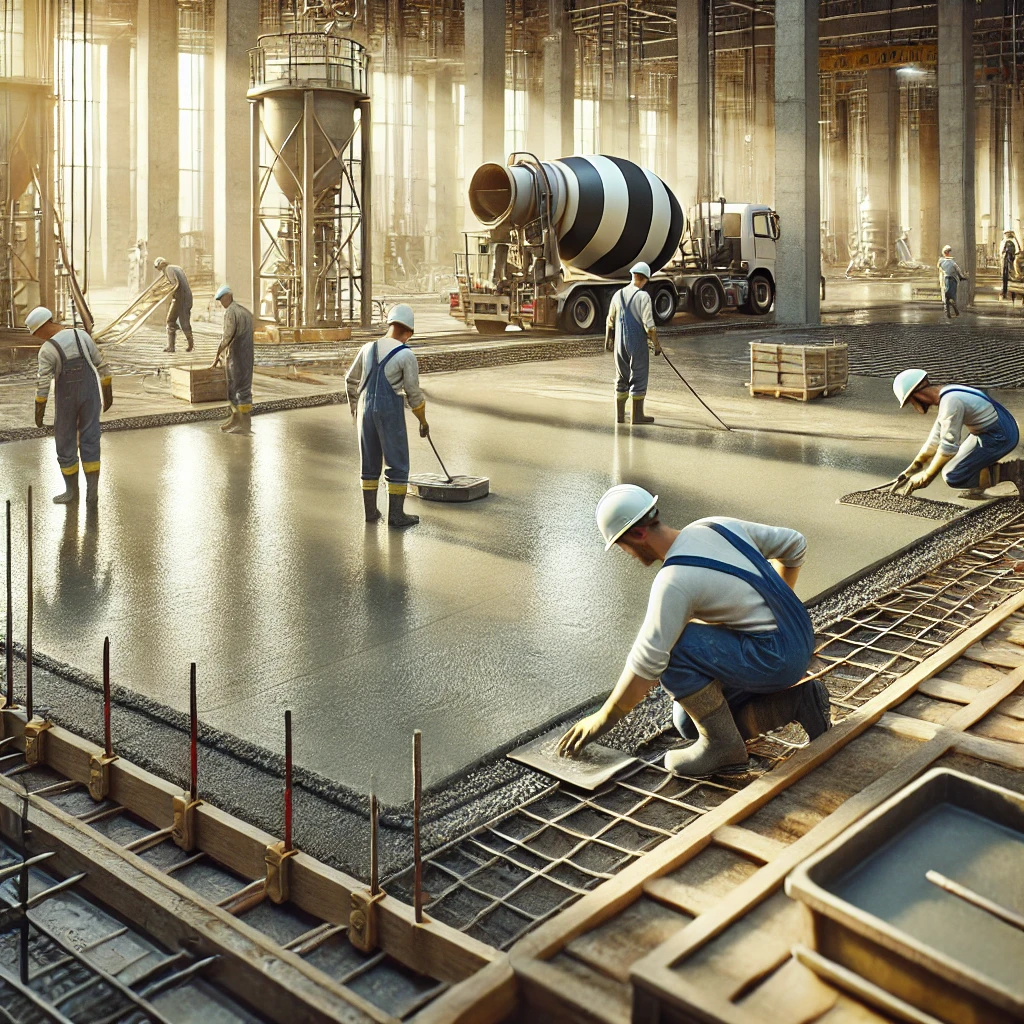
Mixing and Pouring Self Leveling Concrete
Preparing the Mixture
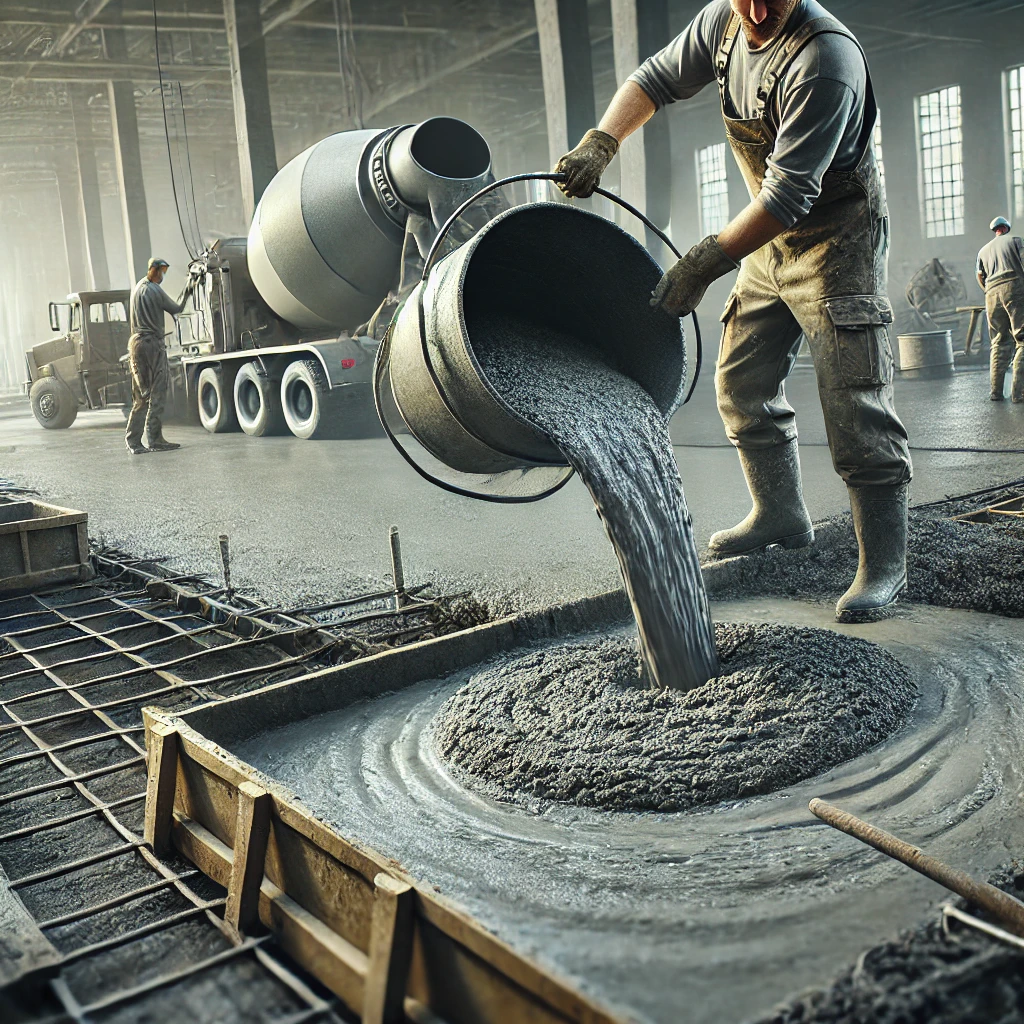
When mixing self-leveling concrete, precision is key. Begin by carefully measuring the recommended amount of water into a clean mixing container. Gradually add the dry concrete mix to the water, not vice versa, to ensure proper consistency. Use a drill with a paddle mixer attachment, stirring at a low speed to prevent air bubbles from forming. Mix thoroughly for 2-3 minutes until you achieve a smooth, lump-free consistency resembling pancake batter.
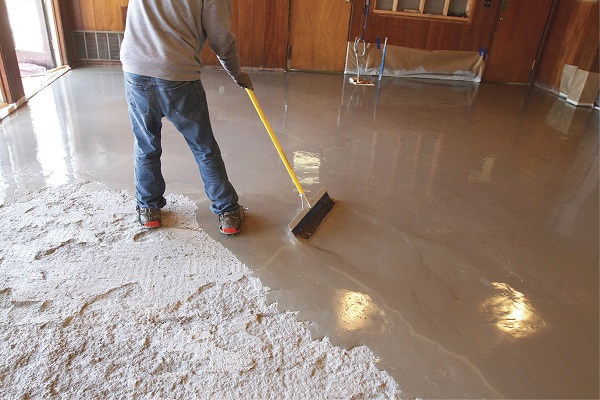
Pouring Techniques
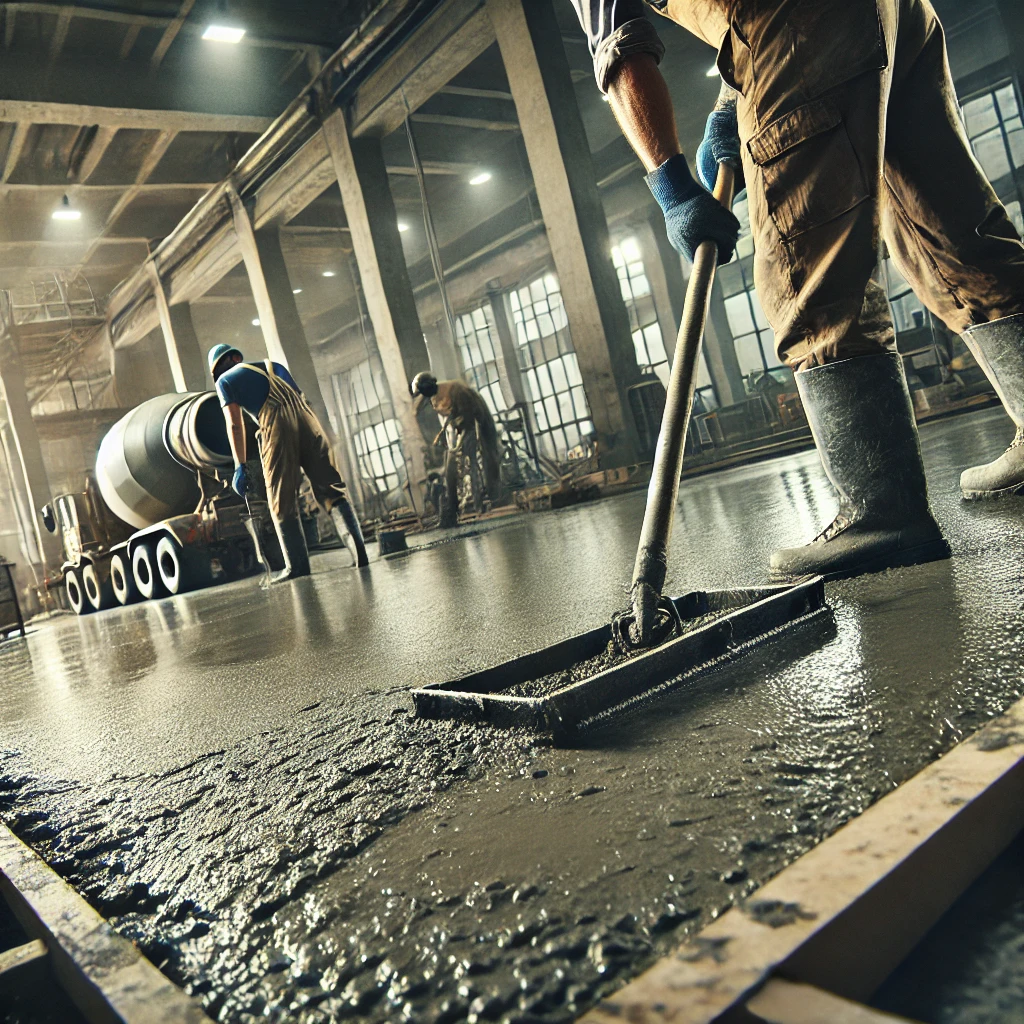
Before pouring, ensure the subfloor is clean, dry, and properly primed. Start pouring the self-leveling concrete mixture at one corner of the room, working your way towards the exit. Pour in a ribbon-like pattern, maintaining a steady flow to promote even distribution. For larger areas, consider using a gauge rake to control the depth and spread of the mixture.
Spreading and Finishing
Immediately after pouring, use a smoothing tool or spreader to guide the mixture into corners and along edges. Work quickly, as self-leveling concrete typically sets within 20-30 minutes. For optimal results, use a spiked roller to remove any air bubbles and ensure a smooth, level surface. Avoid overworking the surface, as this can lead to inconsistencies in the final product.
Remember to maintain proper room temperature and ventilation during the pouring and curing process. Allow the concrete to dry completely before applying any finishes or allowing foot traffic. By following these steps, you’ll achieve a professional-grade, level surface perfect for various flooring applications.
Curing and Finishing Self Leveling Concrete
Initial Curing Process
After pouring your self-leveling concrete, proper curing is crucial for achieving optimal strength and durability. Begin by protecting the surface from foot traffic for at least 24 hours. During this time, maintain a consistent room temperature between 50°F and 70°F (10°C to 21°C) to ensure even curing. Avoid direct sunlight or strong air currents, as these can cause premature drying and potential cracking.
Moisture Retention Techniques
To promote proper hydration, consider using a curing compound or covering the surface with plastic sheeting. This helps retain moisture, allowing the concrete to develop its full strength potential. Keep the area moist for at least 72 hours, misting the surface lightly if necessary. Remember, rushing this process can lead to a weaker final product.
Finishing Options
Once cured, you have several finishing options depending on your intended use:
- For a smooth, industrial look, simply leave the self-leveling concrete as is.
- To enhance slip resistance, consider adding a non-slip additive or applying an anti-slip coating.
- For decorative purposes, you can stain, paint, or seal the surface to achieve your desired aesthetic.
When applying any finish, ensure the concrete is fully cured and dry. Test for moisture content using a moisture meter before proceeding with any treatments.
Long-Term Maintenance
To preserve the quality of your self-leveling concrete, implement a regular maintenance routine. Sweep or vacuum frequently to remove abrasive particles. For deeper cleaning, use a pH-neutral cleaner to avoid damaging the surface. Reapply sealers as needed, typically every 2-3 years, to maintain protection against stains and wear.
By following these curing and finishing guidelines, you’ll ensure your self-leveling concrete project achieves its full potential in terms of strength, appearance, and longevity.
Conclusion
In conclusion, mastering the art of preparing and pouring self-leveling concrete requires attention to detail and careful execution. By following the tips outlined in this article, you can achieve professional-quality results in your flooring projects.With practice and patience, you’ll be able to create smooth, level surfaces that enhance the aesthetics and functionality of any space. Whether you’re a DIY enthusiast or a professional contractor, these techniques will help you achieve superior results with self-leveling concrete.
Mastering self-leveling concrete requires precision and expertise. Our professional team at Rhino Concrete Lafayette has the skills to achieve top-quality results for your flooring projects. We meticulously prepare the subfloor, mix the concrete to exact specifications, and work efficiently during pouring. Our experience ensures smooth, level surfaces that enhance both the beauty and functionality of your space. Whether you’re a homeowner or a business owner, trust Rhino Concrete Lafayette to deliver superior results with self-leveling concrete. Contact us today to transform your floors with our professional concrete services.
FAQs
Can you just pour self-leveling concrete?
Yes, you can pour self-leveling concrete, but it requires proper preparation of the surface. The existing floor must be clean, free of debris, and primed to ensure the self-leveling compound adheres properly. It’s important to follow the manufacturer’s instructions for mixing and applying the concrete to achieve a smooth, level surface.
When should you not use self-leveling concrete?
You should avoid using self-leveling concrete on surfaces that are extremely uneven or have large gaps and holes, as it is designed to correct minor imperfections. Additionally, it should not be used on surfaces that are exposed to significant movement or vibrations, which can cause the self-leveling compound to crack or separate.
How thick does self-leveling concrete need to be?
Self-leveling concrete can be applied in layers as thin as 1/8 inch to as thick as 1 inch in a single pour. For areas requiring more thickness, multiple layers can be applied, allowing each layer to cure before applying the next.
What is the cheapest way to level a concrete floor?
The cheapest way to level a concrete floor is to use a patching compound or concrete filler to fill in low spots and minor imperfections. This method is cost-effective for small areas and minor adjustments. For larger areas, using a self-leveling compound is still relatively affordable and provides a smoother finish compared to other leveling methods.
Does self-leveling concrete crack?
Self-leveling concrete can crack if it is not applied correctly or if the underlying surface is not properly prepared. Factors such as insufficient mixing, improper priming, or applying the compound on a surface that moves or flexes can lead to cracking. Following the manufacturer’s guidelines and ensuring the substrate is stable can minimize the risk of cracks.