As you prepare to create a broom finish for your concrete surface, it’s natural to have questions about achieving the perfect look. With some basic knowledge, the right timing, and a few simple techniques, even beginners can master this classic finish. In this guide, you’ll discover insider tips to help you avoid common mistakes and end up with stunning results. We’ll walk through proper concrete curing, share the optimal moment to texture the surface, and explain must-have broom types plus techniques to create various patterns. You’ll also learn how factors like climate and base materials impact outcomes. Whether you want a subtle sweep or bold woodgrain look, our step-by-step instructions will set you up for success. So grab your broom, and let’s get ready to create your ideal concrete canvas.
What Is Broom Finish Concrete?
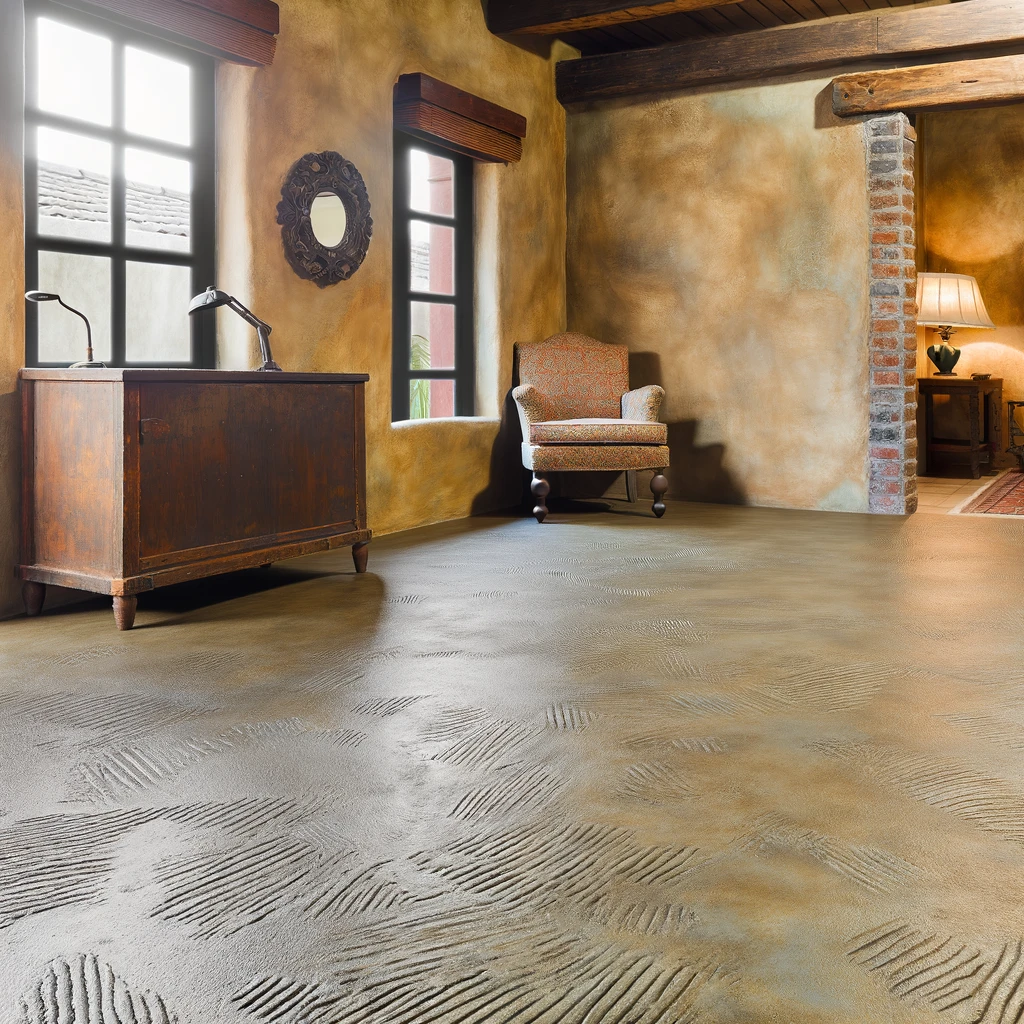
Broom finish concrete is a concrete surface that has been textured with a broom during the finishing process. As the concrete is hardening, a broom is dragged across the surface to create slight grooves and an uneven, slip-resistant texture.
The broom finish is one of the most common concrete finishes for driveways, sidewalks, and patios. It provides extra traction, even when the surface is wet, which helps prevent slips and falls. The subtle texture also helps hide small imperfections in the concrete.

To achieve a broom finish, concrete contractors will pour and smooth the concrete as usual. However, instead of leaving the surface smooth, they will drag a broom across it, pulling slightly upward at the end of each stroke. The broom should be dragged slowly and carefully to create an even pattern. For the best results, use a broom with stiff, evenly spaced bristles.
The broom finish can be applied as soon as the surface of the concrete can support the weight of a worker. However, the concrete should not be too hard, or it won’t be possible to create the grooves. Timing is critical to achieving an ideal broom finish.
In many cases, a concrete sealer is applied to a broom finish to help protect the surface. The sealer fills in the small grooves and provides a durable coating while still allowing the texture to show through. It also enhances the appearance of the broom finish and prevents stains. For high-traffic areas like driveways, a concrete sealer is highly recommended to prevent wear and tear over time.
With its slip-resistant and durable properties combined with an attractive appearance, a broom finish is an excellent choice for many concrete projects. When done properly, it can provide years of service and enhance your property’s functionality and curb appeal.
The Benefits of a Broom Finish
An Attractive, Rustic Appearance
A broom finish gives concrete floors an attractive, rustic texture that many homeowners and designers love. The subtle swirl pattern and bumpy surface create visual interest and a handcrafted feel. Compared to a smooth finish, a broom finish has more character and a casual, laid-back vibe that suits many decorating styles.
Increased Traction
The textured surface of a broom finished floor provides increased traction, even when wet. This makes broom finished concrete a great choice for outdoor walkways, patios, and pool decks where slipping is a concern. The bumpy texture gives shoes something to grip onto, reducing the risk of falls.
Hides Imperfections
The uneven, mottled surface of broom finished concrete helps hide small imperfections, stains, and cracks in the concrete. The sweeping motion of the broom during finishing obscures minor flaws and creates an irregular pattern, distracting the eye from any small defects in the surface.
Low Maintenance
Broom finished concrete requires little maintenance to keep looking its best. Simply sweeping debris and mopping up spills is typically all that’s needed. The textured finish is very durable and helps hide dirt and stains. Re-sealing the concrete every few years will help protect the surface, but broom finished floors do not need the frequent polishing and buffing that smooth concrete floors require.
In summary, a broom finish offers many benefits for both residential and commercial applications. With its decorative rustic texture, slip-resistant surface, flaw-hiding pattern, and low-maintenance requirements, broom finished concrete can be an excellent flooring choice.
How to Achieve the Perfect Broom Finish
To achieve a perfect broom finish for concrete floors, proper technique and timing are key. First, make sure you have the right tools: a stiff-bristled broom and a trowel or float to smooth the concrete as it starts to harden.
Apply the Broom at the Optimal Time
The concrete must be allowed to harden to the proper consistency before brooming. If broomed too early, the surface will be rough and uneven; if too late, the broom will not leave an imprint. There are two ways to test if the concrete is ready. First, lightly drag your finger across the surface. If it leaves a 1/4 inch deep groove, the time is right. Alternatively, step on an edge or corner of the slab. If your footprint leaves an indentation about 1/4 inch deep, the concrete is ready for brooming.
Use the Proper Technique
Holding the broom at a 45-degree angle, use even pressure and smooth strokes to drag the bristles across the concrete in one direction. Do not scrub in circles. Pull the broom across the surface using multiple passes to achieve a uniform finish. Rinse the bristles frequently in water as you go to prevent built-up concrete from clumping.
Final Touches for Perfection
Once brooming is complete, use a float or trowel to touch up any imperfections and further embed the bristles into the surface. Lightly misting the surface with water will bring out the texture and enhance the overall appearance. As the concrete continues to cure, avoid walking on it for at least 24 to 48 hours. Protecting the surface from damage during this critical period will ensure you achieve a flawless broom finish.
With the proper technique and timing, a broom finish can produce a slip-resistant yet attractive surface for any concrete flooring application. Paying close attention to the details will yield professional-looking results, even for a beginner.
Common Broom Finishing Mistakes to Avoid
When applying a broom finish to concrete, there are several mistakes that can compromise the final result. To achieve an attractive, even broom finish, it is important to avoid these common errors.
Applying the Broom Finish Too Early or Too Late
The timing of when you apply the broom finish is critical. If done too early, the concrete will not have set enough and the broom will sink in, creating an uneven, messy finish. If done too late, the surface will have started to harden, preventing the broom from imprinting the concrete. For most concrete mixes, the ideal time to apply a broom finish is when the surface can still be dented by pressing firmly with your thumb, but is firm enough that your footprint only leaves a shallow impression.
Using the Wrong Type of Broom
Not all brooms are suitable for finishing concrete. Choose a broom with stiff, evenly spaced bristles. A broom that is too soft will not imprint the concrete adequately. Push brooms, corn brooms and other brooms with uneven, sparse bristles should also be avoided, as they will create an irregular, patchy finish. For most projects, a standard street broom with stiff nylon or polypropylene bristles works well.
Applying Inconsistent Pressure or Stroke
When brooming the concrete, apply firm and even pressure, using smooth, consistent strokes in one direction. Irregular, jerky motions or varying the amount of pressure will result in a finish with patches of varying texture and depth. Work systematically across the entire surface to achieve a uniform finish.
Not Protecting the Fresh Finish
Once finished, the broomed concrete must be protected as it continues to cure. Covering the surface with plastic sheeting prevents moisture loss before the concrete has fully hardened. Failure to protect a fresh broom finish can result in cracks as the surface dries and hardens unevenly. Plastic sheeting should remain in place for at least the first 24 to 48 hours.
By avoiding these common mistakes, paying close attention to timing and technique, and properly protecting your work, you can achieve an attractive broom finish for your concrete project. With some practice, you will be applying a professional-looking broom finish in no time.
Conclusion
In conclusion, achieving the perfect broom finish on your concrete surfaces is a rewarding project that enhances both aesthetics and durability. With the right tools, timing, and technique, even beginners can create a professional-looking finish that will stand the test of time. Remember to experiment with different textures to find what best suits your project and always ensure proper curing and sealing for longevity. For those in the Lafayette area, Rhino Concrete Lafayette is here to help. We offer expert guidance and professional services to ensure your broom-finished concrete project is a success. Contact us today to transform your space with a beautiful, durable broom finish.
FAQs About Broom Finish Concrete
What is broom finish concrete?
Broom finish concrete is a textured concrete surface created by dragging a broom across the surface of freshly poured concrete. The broom leaves small grooves and an uneven, sandy texture. This finish provides more traction than a smooth finish. It is often used for driveways, sidewalks, and patios.
How is broom finish concrete achieved?
After pouring and leveling the concrete, use a broom to create the textured finish before it hardens. Pull the broom across the surface using even, overlapping strokes. For the most traction, drag the broom perpendicular to the main direction of traffic. The key is to broom before the concrete surface has completely set. Broom too early, and the grooves will be too deep. Broom too late, and the surface will be too hard to texture. Timing is critical for the perfect broom finish.
What type of broom should I use?
Use a broom with stiff, evenly spaced bristles. A push broom or a large warehouse broom works well for texturing large commercial floors. For residential use, a standard upright broom can work. Test different brooms to see which texture you prefer. In general, stiffer bristles and more spacing between bristles will produce deeper grooves. Softer bristles provide a subtler sandy texture.
How long does broom finish concrete last?
Broom finish concrete can last for decades with proper care and maintenance. However, the texture may start to wear down over time with heavy traffic and weathering. Re-texturing the surface with a broom can help restore traction. For the longest-lasting results, choose a durable concrete mix, apply a concrete sealer, and limit exposure to chemicals like salt that can damage the concrete.
With the right techniques and care, broom finish concrete can provide an attractive, long-lasting surface for patios, walkways, and driveways. Paying attention to details like timing, broom selection, and maintenance will help you achieve a perfect broom finish.