In Lafayette, CA, dry-pour concrete slabs have become a popular choice for residential and commercial projects. These slabs offer a range of advantages over traditional wet-pour concrete, making them a preferred option for many contractors and homeowners. Whether you’re planning to construct a patio, driveway, or walkway, understanding the basics of dry-pour concrete slabs is crucial. This article will provide you with a comprehensive guide to everything you need to know about dry-pour concrete slabs.
What is a Dry Pour Concrete Slab?
A dry pour concrete slab, also known as a dry shake concrete slab, is a construction method that involves pouring dry concrete mix onto a prepared surface and then incorporating water into the mix. Unlike wet-pour concrete, no excess water is added during the pouring process. The dry mix is spread evenly across the site, and water is later added to activate the cement and create a solid slab.
Advantages of Dry Pour Concrete Slabs

Dry-pour concrete slabs are often used in building projects because they have a lot of benefits. In this method, a special mix of aggregate and cement is used instead of rebar or mesh to strengthen the structure. This makes a surface that is both porous and strong, which has several benefits:
- Environmentally Friendly: Its ability to let water pass through diminishes runoff and erosion, making dry pour concrete a sustainable and eco-conscious option.
- Simplified Installation: This concrete eliminates the need for intricate reinforcement structures, streamlining the installation process and saving time and labor.
- Improved Water Drainage: The porous nature of this concrete means water drains through quickly, reducing puddle formation and the associated slip hazards.
- Reliable Strength: Pervious concrete maintains a high level of durability, capable of supporting heavy loads and resisting cracking, despite its permeability.
- Cost Efficiency: By avoiding complex reinforcement, this concrete is not only easier to install but also more economical, offering quality without the high expense.
Key Components of a Dry Pour Concrete Slab
A dry-pour concrete slab incorporates several essential elements, each playing a pivotal role in the creation of a durable, solid base for construction projects:
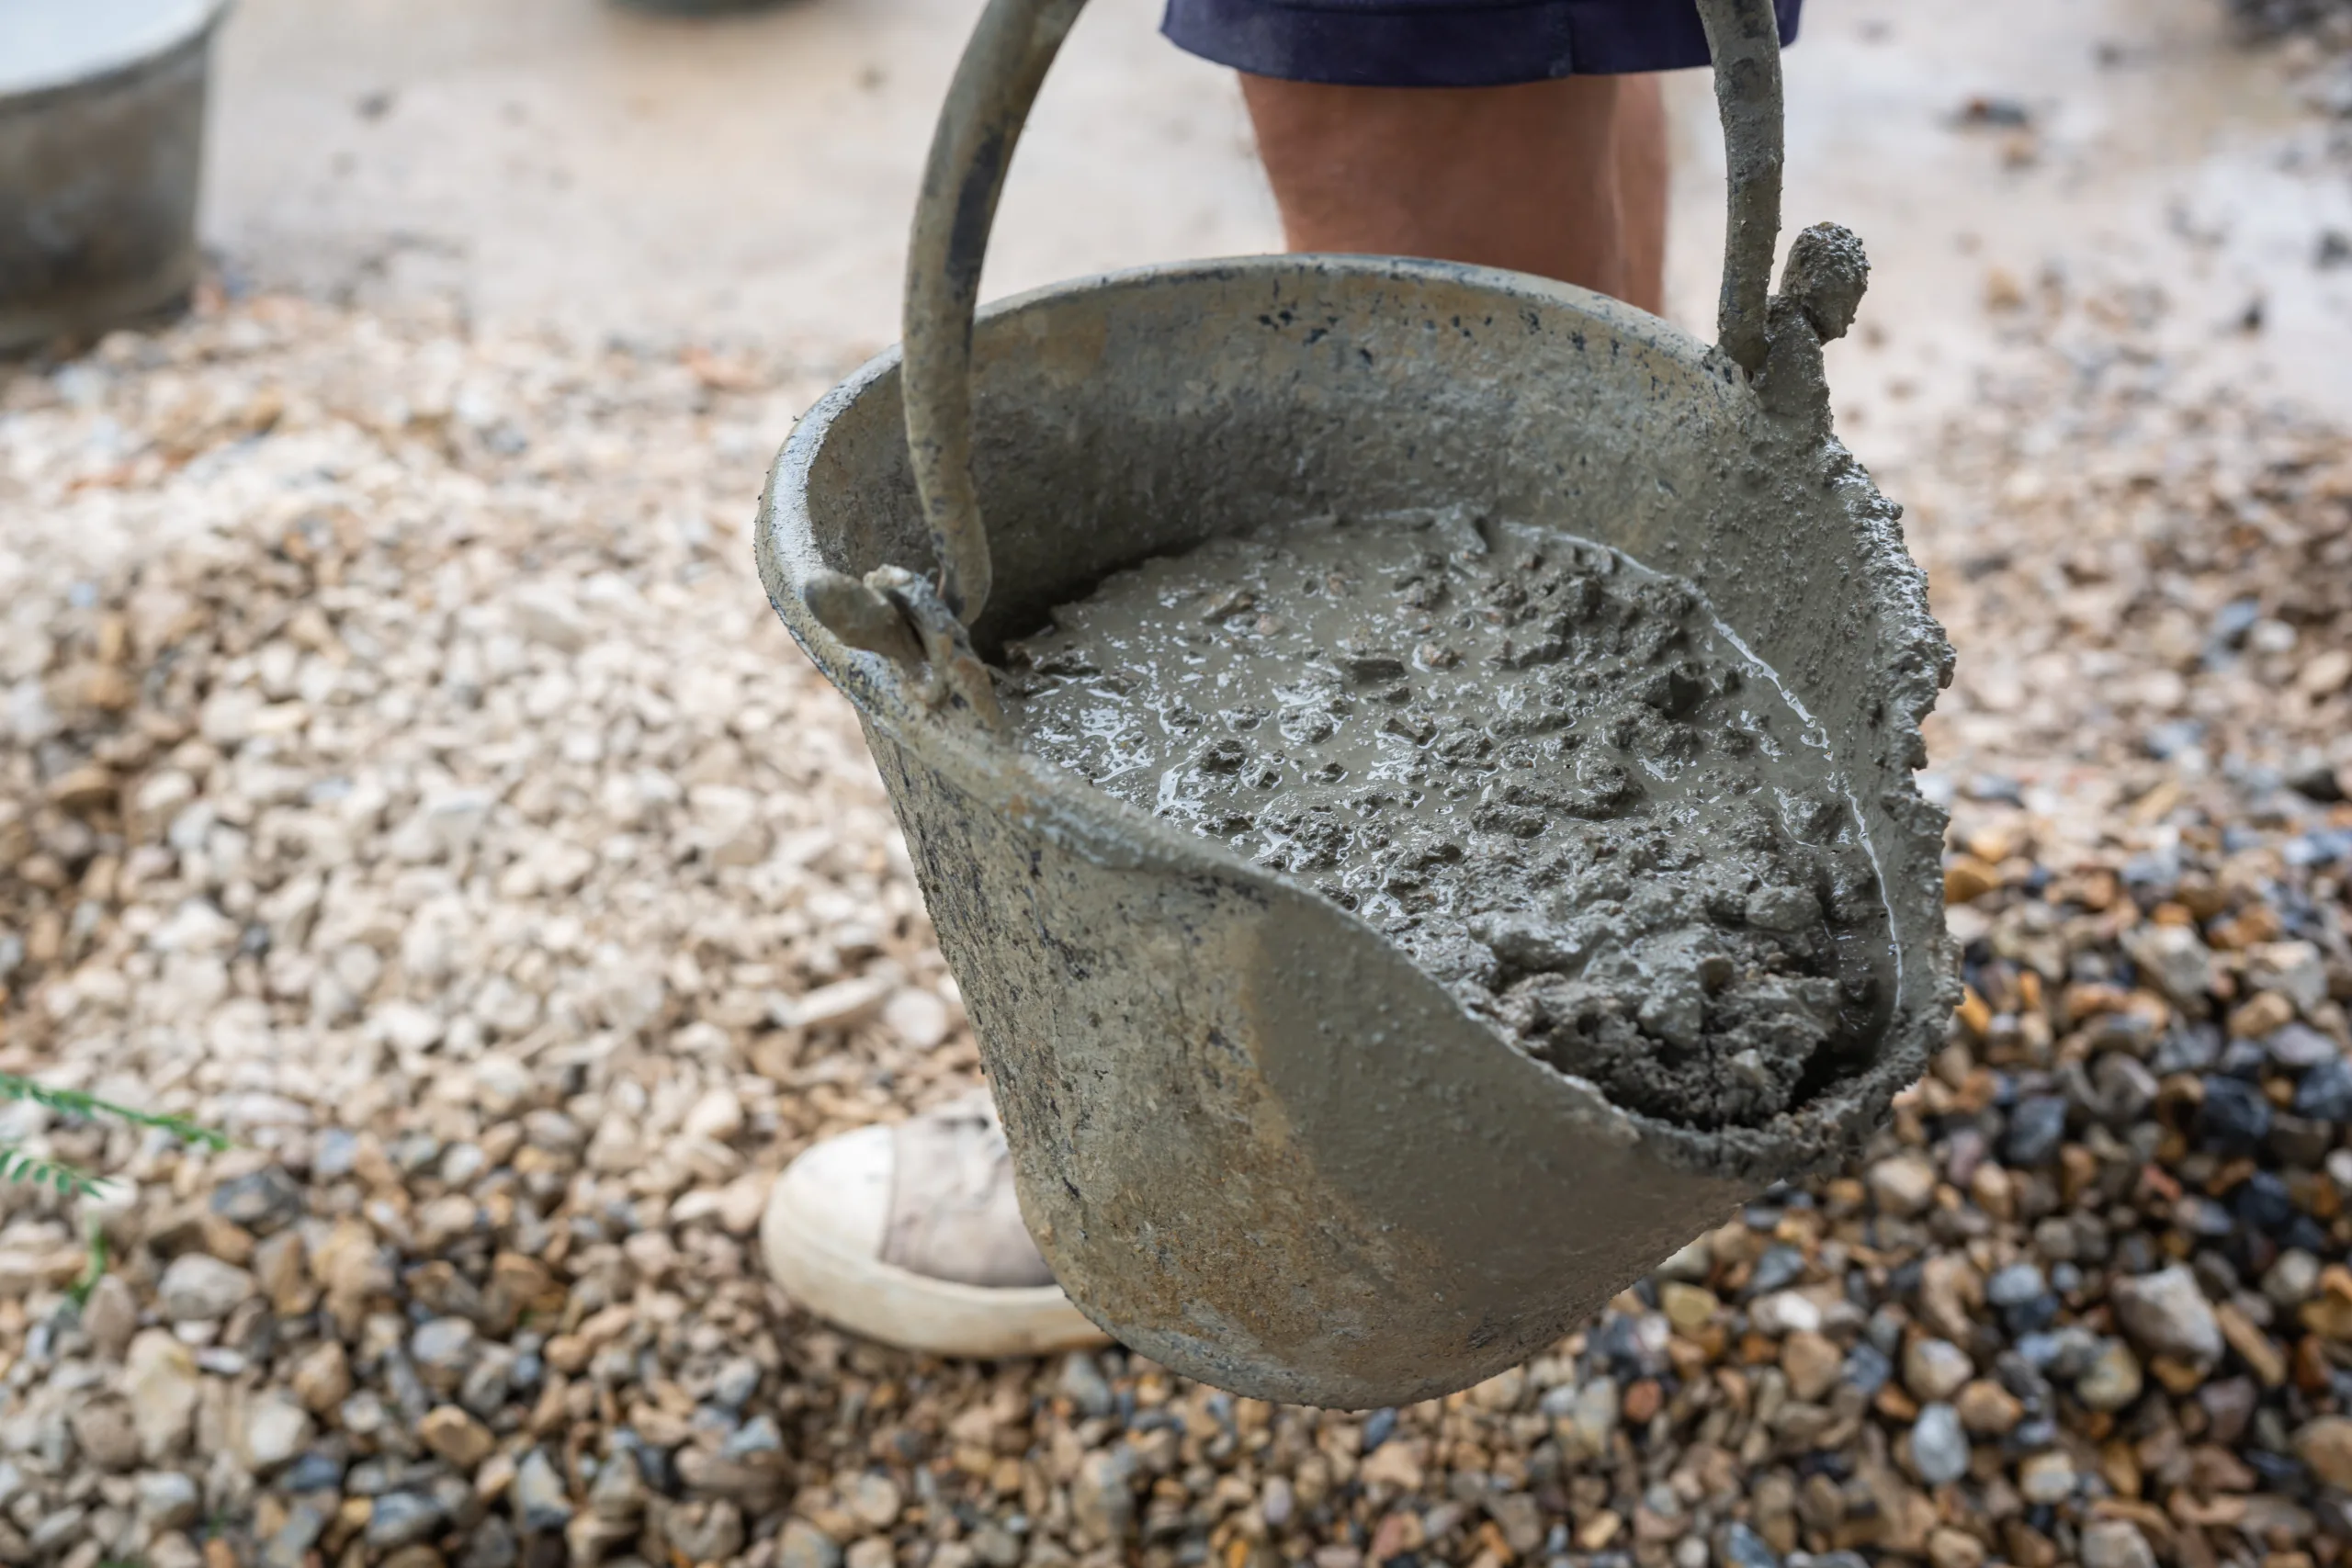
- Cement, Sand, and Aggregate: These foundational materials are critical in forming the structure of a dry-pour concrete slab. Cement acts as the glue that binds the sand (fine aggregate) and larger stone or gravel (coarse aggregate) together once water is added.
- Water Addition: The introduction of water to the dry mix triggers the chemical reaction necessary for the cement to harden and bind the sand and aggregate into a cohesive, solid mass. This process is essential for transforming the dry components into a stable and strong base.
- Subgrade Preparation: Before pouring the concrete, the ground underneath must be properly prepared. This preparation involves leveling the area, ensuring it is compact and free of debris, and sometimes dampening it to prevent too rapid drying of the concrete.
- Mixing and Pouring Process: The unique aspect of dry pouring involves spreading the dry concrete mix directly onto the prepared subgrade. Afterward, water is evenly distributed over the dry mix and the mixture is leveled to form the slab. This method requires careful attention to ensure even coverage and adequate hydration of all parts of the mix.
- Curing Process: The curing phase is critical for achieving the desired strength and durability of the concrete slab. Maintaining the concrete moist for at least 7 days allows the chemical reactions between cement and water to proceed to completion, thereby ensuring the concrete achieves its maximum strength.
It’s crucial to recognize that while dry pour techniques may suffice for minor projects, they are generally not advised for larger-scale constructions. This caution arises from concerns about the uniformity of strength and durability across the slab. Traditional mixing methods allow for precise control over the water-cement ratio, ensuring thorough saturation and optimal properties of the concrete mix.
In contrast, dry pouring can make it challenging to ascertain complete saturation and achieve a consistent water-cement ratio, potentially compromising the quality and longevity of the concrete slab. For this reason, for most applications, especially those bearing significant loads or requiring long-term durability, pre-mixing the concrete with water before placement is the recommended practice.
Calculating the Amount of Concrete Needed for a Dry Pour Slab
Before starting a dry pour concrete slab project, it is crucial to accurately calculate the amount of concrete needed. This ensures that you have sufficient materials and avoids unnecessary delays or additional expenses. To calculate the volume of concrete required, you will need to measure the dimensions of the slab, including its length, width, and depth. Multiply these measurements together to obtain the total volume in cubic feet. It is advisable to add a small percentage for wastage and to account for any irregularities in the surface.
Preparing the Site for a Dry Pour Concrete Slab
To properly prepare a site for a dry-pour concrete slab, follow these key steps:
- Clearing the Area: Remove all vegetation, debris, and loose soil from the site. This ensures a clean and unobstructed space for the slab.
- Compacting the Subgrade: Use a plate compactor or a layer of crushed stone to compact the soil. This step creates a stable and solid base for the concrete slab.
- Leveling the Subgrade: Ensure the compacted subgrade is perfectly level. An uneven base can lead to an uneven slab, which might result in structural problems.
- Installing Forms or Edge Restraints: Set up forms or edge restraints around the perimeter where the concrete slab will be poured.
Each of these steps is vital for creating a durable and stable dry-pour concrete slab, reducing the risk of future problems such as cracking or uneven settling.
Step-by-Step Guide to Pouring a Dry Concrete Slab
- Prepare the site: Clear the area where the concrete slab will be poured, removing any debris and vegetation. Mark the perimeter of the slab with stakes and string to define the edges.
- Excavation: Dig out the area to the required depth for the slab, typically around 4 inches for a basic residential slab. Compact the soil and ensure the base is level.
- Install formwork: Construct formwork around the perimeter of the slab using wooden or metal boards. Ensure the formwork is securely in place and level.
- Add gravel base: Spread a layer of gravel or crushed stone over the compacted soil to create a stable base for the concrete.
- Install reinforcement: If needed, place rebar or wire mesh within the formwork to provide structural reinforcement for the concrete slab.
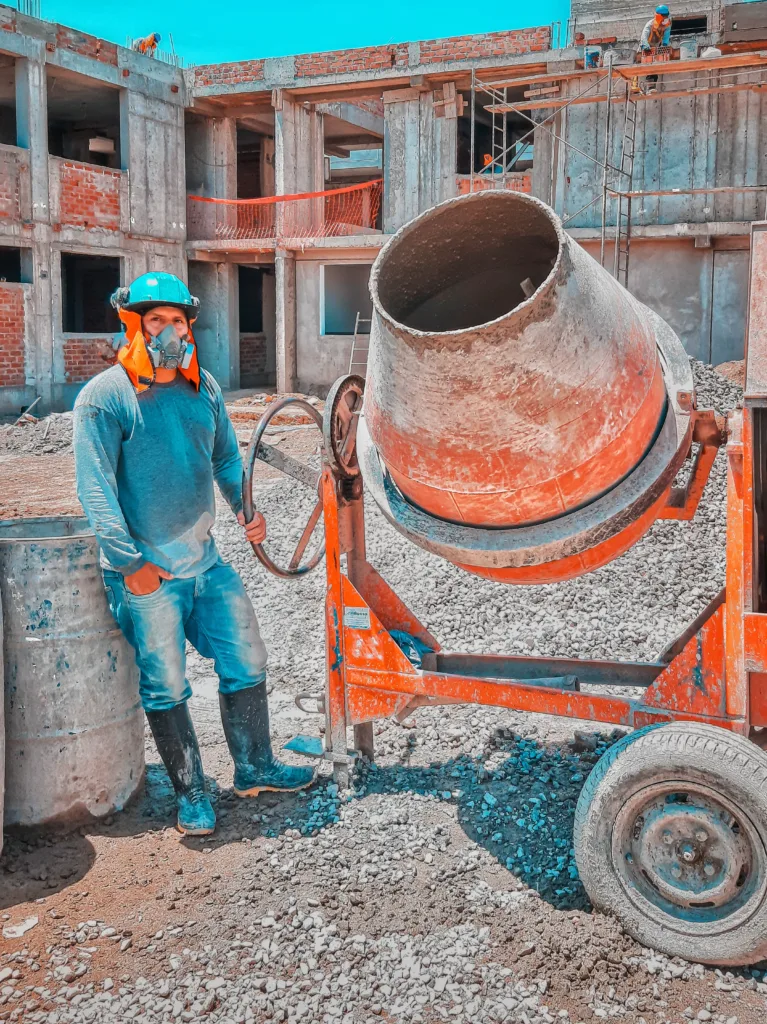
- Mix the concrete: Follow the manufacturer’s instructions to mix the dry concrete mix with water in a concrete mixer or wheelbarrow until it reaches the desired consistency.
- Pour the concrete: Start pouring the mixed concrete into the formwork, starting from one corner and working your way across the entire area. Use a screed board to level the concrete and remove any excess.
- Finish the surface: Once the concrete is poured and leveled, use a float or trowel to smooth the surface and remove any imperfections. You can also add a broom finish for better traction.
- Cure the concrete: Cover the freshly poured concrete with plastic sheeting or wet burlap to retain moisture and allow it to cure properly. Follow the recommended curing time before removing the formwork.
- Remove formwork: After the concrete has cured, carefully remove the formwork and clean up any excess material around the edges of the slab.
Common Issues and Troubleshooting Tips for Dry Pour Concrete Slabs
While dry-pour concrete slabs offer numerous benefits, it is essential to be aware of common issues that may arise during the construction process. One common problem is the formation of cracks due to improper mixing or inadequate curing. To prevent this, ensure that the dry mix and water are thoroughly blended, and follow the recommended curing procedures. Another issue is the appearance of surface blemishes or discoloration. This can be addressed by using high-quality materials, properly preparing the site, and applying a suitable finishing treatment.
Maintenance and Care of Dry Pour Concrete Slabs

To prolong the lifespan and maintain the appearance of your dry-pour concrete slab, regular maintenance is necessary. This includes regular cleaning to remove dirt, debris, and stains. Do not use rough cleaners or chemicals that can hurt the surface. Periodically inspect the slab for any signs of cracking or settlement and make necessary repairs promptly. Additionally, consider applying a sealer every few years to protect the surface from moisture and wear.
Conclusion
Dry-pour concrete slabs offer a range of advantages over traditional wet-pour concrete, making them a preferred choice for many construction projects in Lafayette, CA. Understanding the key components, proper site preparation and the pouring and finishing process are essential for achieving a durable and aesthetically pleasing slab. By following the guidelines provided in this article and addressing any common issues that may arise, you can ensure the longevity and performance of your dry-pour concrete slab. For further information or assistance with your project, don’t hesitate to contact Rhino Concrete Lafayette.
Contact Rhino Concrete Lafayette
For all your dry pour concrete slab needs in Lafayette, CA, contact Rhino Concrete Lafayette. Our team of experienced professionals will provide you with exceptional service and ensure the successful completion of your project. Visit our website or call us at 925-291-9542 to learn more and get started on your next concrete slab project.